Best For You
Gerudo Sanctum Unveiled: A Comprehensive Guide to Echoes of Wisdom Adventure
The expansive world of Zelda: Echoes of Wisdom beckons adventurers to embark on thrilling quests filled with challenges and treasures. One such daunting task lies within the Gerudo Sanctum Dungeon, a place where the clever use of Echoes and strategic problem-solving culminates in extraordinary rewards. This comprehensive guide will take you through the nuances of the dungeon, showcasing treasure locations, puzzle solutions, and advice on navigating tricky foes. Whether you're an accomplished veteran or a recent arrival to the game, prepare yourself for an unforgettable journey through the Gerudo Sanctum.
Accessing the Gerudo Sanctum

To successfully reach the Gerudo Sanctum, players will need to take an unconventional route. Instead of encountering a rift like in other dungeons, players must explore the Cryptic Cavern. Within this mini-dungeon, players should acquire both the Wind Cannon and the Pathblade Echoes to advance. Once you pull the plug using Bind, the sand will drain, revealing the entrance to the Sanctum. Make your way back to the desert's surface, locate the front entry of the Sanctum, and step through the rift into the dungeon itself.
Diving into the Dungeon
Upon entering the Gerudo Sanctum, prepare for a substantial dungeon that will require both exploration and puzzle-solving skills. Expect to navigate back and forth between rooms, unearthing secrets and treasures as you proceed. The challenges within are well-designed to tease both your intellect and dexterity.
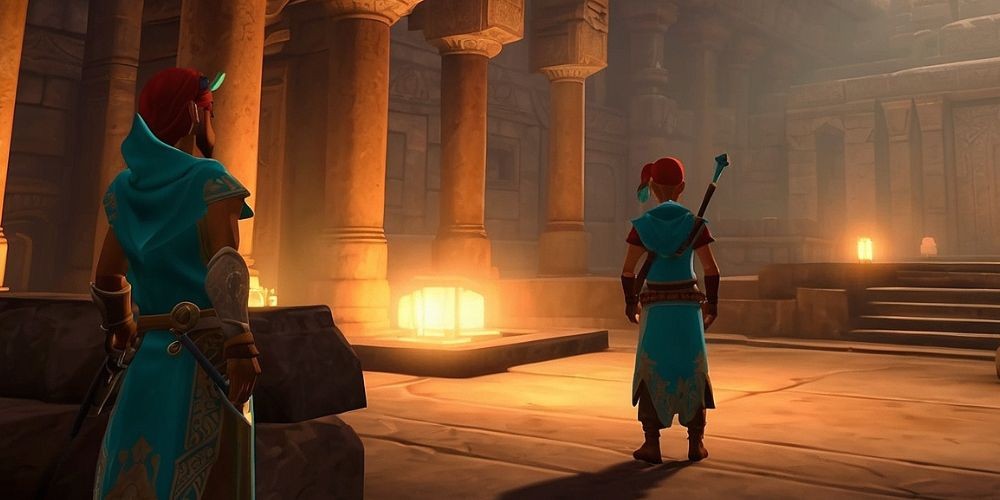
Meet a Familiar Face
Your adventure begins as you encounter a well-known character. Follow them up the ladder and into a chamber equipped with climbable walls and a gust of wind. Be careful to avoid the wind as you ascend the right side, leap across to the adjacent wall, climb upwards, and then maneuver back left to push a boulder away from another gust of wind before climbing the next ladder.

Activating the Waypoint
After climbing, activate the Waypoint and navigate to the left. Here, seize the Flying Tile Echo and strategically place an Echo to absorb incoming damage, allowing you to unlock a chest containing 20 rupees. Venture back and head toward the right for further exploration.
Lever Mechanics and Retrieving Treasure
Use your Bind ability to grasp the lever and pull with urgency towards the approaching blue gate that is slowly closing. Once you've passed through, engage with the door and rotate it to reveal a new pathway before uncovering a treasure chest that encloses a Key made of Silver.
Unlocking the North Door
Return to the main area, and focus on unlocking the northern door. Capture the Snake Statue Echo within the next room, and prepare for combat by defeating the Mothulas while also obtaining the Mothula Echo.

Conveyor Belt Challenges
Navigating through the left door leads you to a room filled with conveyor belts. Use Bind to manipulate the boxes and clear them from your path—taking care to leap over potential pitfalls as you progress. Descend the ladder on the opposite side to encounter a section populated by Caramadillo enemies. Here, acquire a Caramadillo Lv. 2 Echo and use Holmill to reach a Golden Egg inside a chest.
Deciphering the Tablet Riddle
Climb the ladder situated on the left side and activate the Waypoint here. Study the stone tablet that requires players to identify stone statues that correspond to certain tributes for unlocking the nearby door.
Sand Interference
Venture right from here, utilizing Bind on the door to open it while employing the Wind Cannon or Tornando to clear away sand mounds obstructing your path. A tablet in this area describes a blue elephant; you can find a chest containing Rock Salt by checking around here before moving on.
Defeating Poes and Collecting Maps
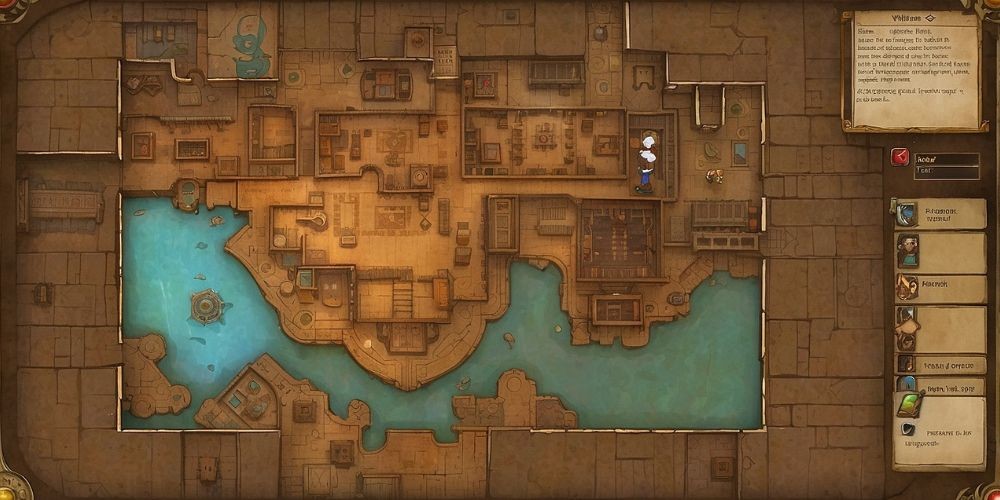
A confrontation with a Poe awaits as you exit to the south. Eliminate this foe, gather the Poe Echo, and obtain the Dungeon Map before continuing your journey outside.
Rooftop Treasures
Once outside, players can ascend to a wall hole for additional rupees or move left towards a series of pillars. Use Bind to adjust these pillars so the ladder alignment permits access to a chest containing 50 rupees, then proceed upwards.
Unveiling the Monster Stone
Continue your exploration towards the roof of the Sanctum. Here, use your abilities to clear sand mounts, ultimately unveiling a Monster Stone that will aid you in your future battles.
Returning Inside the Dungeon
Descend the right side and re-enter through the doorway, where players will need to pull a lever and rush over to the closing door of the next room using speed and skill. If dealing with Sand Piranhas proves challenging, don’t hesitate to eliminate them to ease your progress.
Clearing the Way for the Miniboss
In the subsequent room, utilize the Tornando echo to clear more blocked paths and defeat Gibdos and ReDead. Capture the ReDead Echo if you haven't done so and also collect the Cat Statue Echo before moving on to navigate to a corridor featuring a Waypoint.
Face the Miniboss
After activating the Waypoint, proceed left to encounter a miniboss—a version of Link wielding a bow. Dealing with him requires tactics; surround him with Echoes while avoiding his arrow volleys. When he shifts to a purple state, it signals a barrage of arrows. Maintain your assault, and you will overcome him to earn the Bow for your Swordfighter form.
Lighting the Torches
Once the miniboss is slain, ascend the ladder into a room teeming with Beetles. Acquire both the Beetle and Beetle Mound Echoes then navigate to the next chamber where flame pillars block your path. Use Boulders to block these flames and navigate towards the rear of the room to secure an Elephant Statue Echo along with a Small Key tucked within a chest.
Completing the Final Tasks
Return to the hall toward the central tablet area, making sure to disclose what’s necessary to navigate the room successfully. Gather the final statue, which surprisingly lies outside the dungeon. Once confirmed, arrange the acquired statues correctly to unlock the last door, whereupon pulling the plug will reveal a big treasure chest concealing the Big Key.
Preparing for the Final Showdown
Ascend the stairs to find the boss door waiting for you. Unlock it to uncover the malevolent presence beyond. For tips on overcoming the Gerudo Sanctum boss, consult our additional resources. Your adventure will culminate in hard-earned victories and the joy of having overcome one of the toughest challenges in Echoes of Wisdom.

The Hidden Chest
A noteworthy treasure lies within 2F of the Gerudo Sanctum—a chest that's hard to access. To reach this elusive treasure, head to the roof and identify a sandy patch among the tiles. Using the Holmill Echo, create a hole and drop down into the room harboring 50 more rupees, rounding off your collection within the dungeon.
Wrapping Up the Adventure
Upon exiting the Gerudo Sanctum, you will find yourself back in the vibrant Gerudo Town, where the townsfolk celebrate the calming of chaos and express their gratitude to you. Depending on the quests you've completed, your next destination may shift toward the Jabul Waters. Should your journey allow, prepare to return to Hyrule Castle Town to fulfill any remaining quests. Your adventure doesn't end here, as Echoes of Wisdom are rife with enchanting discoveries and legendary challenges yet to be conquered.